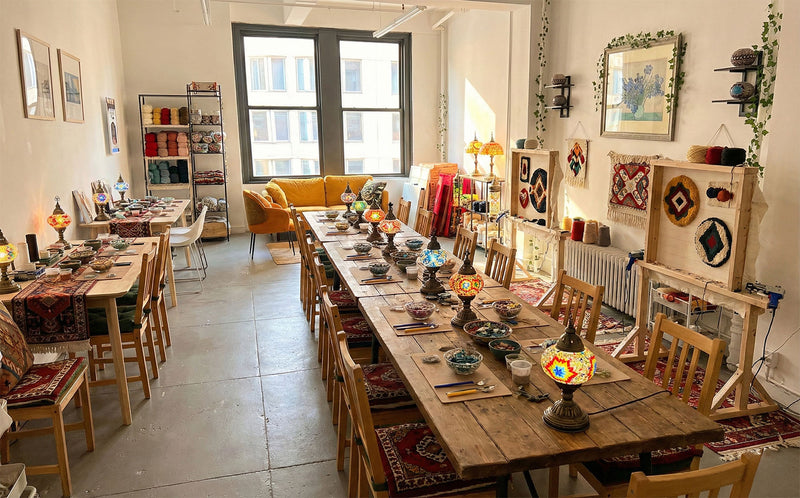
Watch the process
before you start


Quick overview
What You Will Learn
From geometric layout to final cleaning, this guide covers the full process in a practical order.
Time needed
Most beginners complete the process in around 2.5 to 3 hours, depending on pattern complexity and drying pace.
Skill level
No prior mosaic experience is required. The method is approachable, repetitive, and easy to follow step by step.
What you finish with
A working lamp you can light and use at home, not a disposable craft project.
Choose your form
Which Turkish Mosaic Lamp Are You Making?
The form you choose sets the build time, the difficulty and the light it throws. All of them use the same hand-cut Istanbul glass, Czech beads and traditional plaster grout, and all of them start from a repeating geometric motif — most often an Anatolian star or a tulip, the two patterns Ottoman artisans used most in palaces and mosques.
Table Lamp —
the place to start
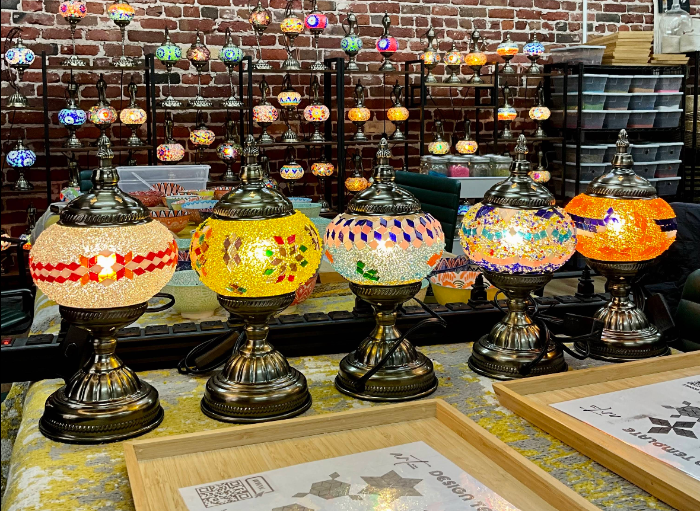
A round globe on a brass base, 11cm or 13cm. Large enough to lay a proper geometric pattern, small enough to finish in one sitting. This is the shape most first-timers choose.
Moon Lamp —
the softest light
A sphere that rests in a cradle rather than sitting on a stem. The curve is less forgiving than a table globe, so pieces sit closer together — but the light it throws is the gentlest in the range.
Swan Lamp —
the shaped form
A neck and a curve the pattern has to follow instead of wrapping a plain sphere. It takes longer than a table globe and rewards a second build rather than a first, but it's one of the ones people photograph most.
Aladdin Lamp —
the shelf piece
A neck and a spout, the most involved silhouette we teach. The pattern has to wrap a form instead of a sphere, so it's a build we recommend for a second or third lamp rather than a first — and the one most people put on the shelf first.
Candle Holder —
no wiring, no wait
The same glass and grout technique at a smaller scale, lit by a candle instead of an LED. The shortest build in the range and the one we recommend for younger makers.
Kits
Which Kit Should You Start With?
Every DIY mosaic lamp kit includes hand-cut glass from Istanbul, Czech glass beads, traditional plaster grout and a brass base. Our DIY kits also carry an LED fitting for a standard US outlet, plus video guides and lifetime support, so you can build at your own pace — in one sitting or across multiple sessions. Because you choose the layout, every lamp ends up with a personal touch and a unique design, even when two people start from the same pattern.
Turkish Table Lamp Kit —
$49
The entry point and our most popular kit. Blue, green or mixed colour. If you are not sure where to start, start here.
Moon Lamp Kit —
$69
A spherical globe in three colourways. A step up in difficulty from the table lamp, and the softest finished light of the range.
Small Swan Lamp Kit —
$75.60
A shaped form in colourful or blue. Choose this if you have built one before and want the pattern to follow a curve.
Aladdin Lamp Kit —
$80.10
The most involved kit we make. A spouted form in blue, green or colourful — the one people put on the shelf first.
Candle Holder Kit —
$44.10
Five patterns, no wiring, the shortest build. Good with children from around eight, and the easiest of the range to give as a gift.
Empty Globe —
from $9
Already have glass? Replacement globes in 11cm and 13cm, plain or pre-filled with mixed tiles and beads.
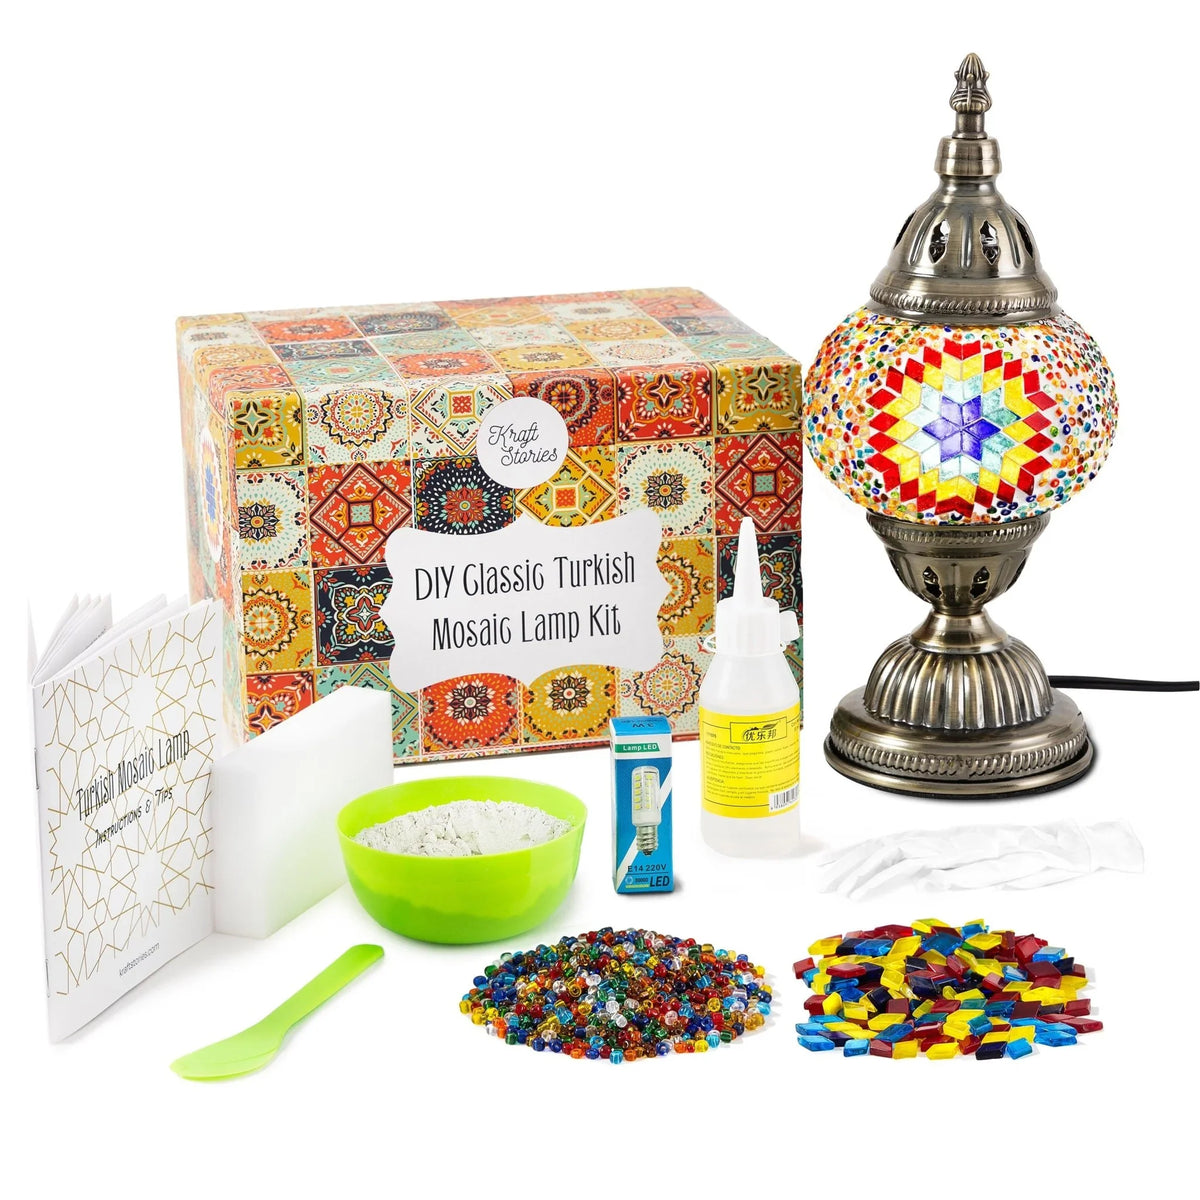
What Arrives in Every Kit
No sourcing, no cutting, no trips to a craft shop. Everything needed for a finished, working lamp is in the box.
Hand-cut stained glass from Istanbul, sorted by colour — nothing printed, nothing painted
Czech glass beads for highlights and depth between the glass pieces
Traditional plaster grout in white or black — the colour changes how sharply the pattern reads once it is lit
A solid brass base and metal frame — weight you can feel
UL-compatible LED light components and a US-ready plug, sized for a standard household outlet — nothing to rewire
Illustrated instructions, video guides and lifetime support
A sponge and cloth for finishing cleanup, plus a printed pattern reference to lay out from
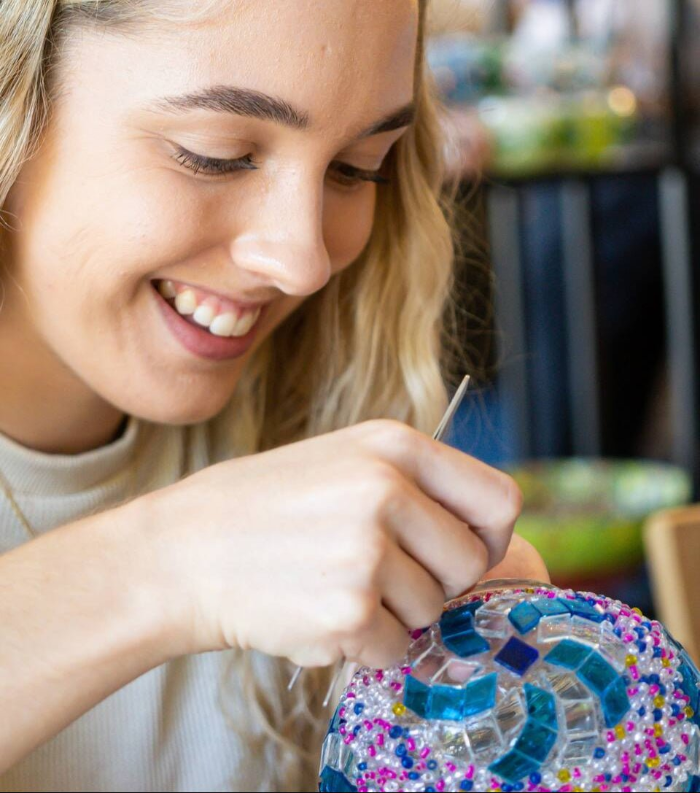
What You Will Need
Materials and tools for the full lamp build
Cut glass pieces in mixed colors
Czech glass beads for detail and depth
Glass globe, lamp base, and lighting hardware
Adhesive and grout (white or black)
Sponge or cloth for finishing cleanup
Pattern reference to guide your layout
How to Make a Turkish Mosaic Lamp, Step by Step
Five stages, about 2.5 to 3 hours of making plus overnight curing. Times are for an 11–13 cm table-lamp globe.
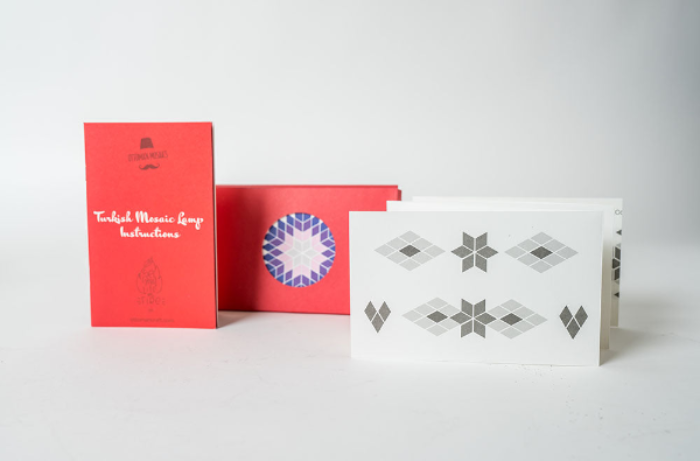
01
Choose Your Pattern (15 minutes)
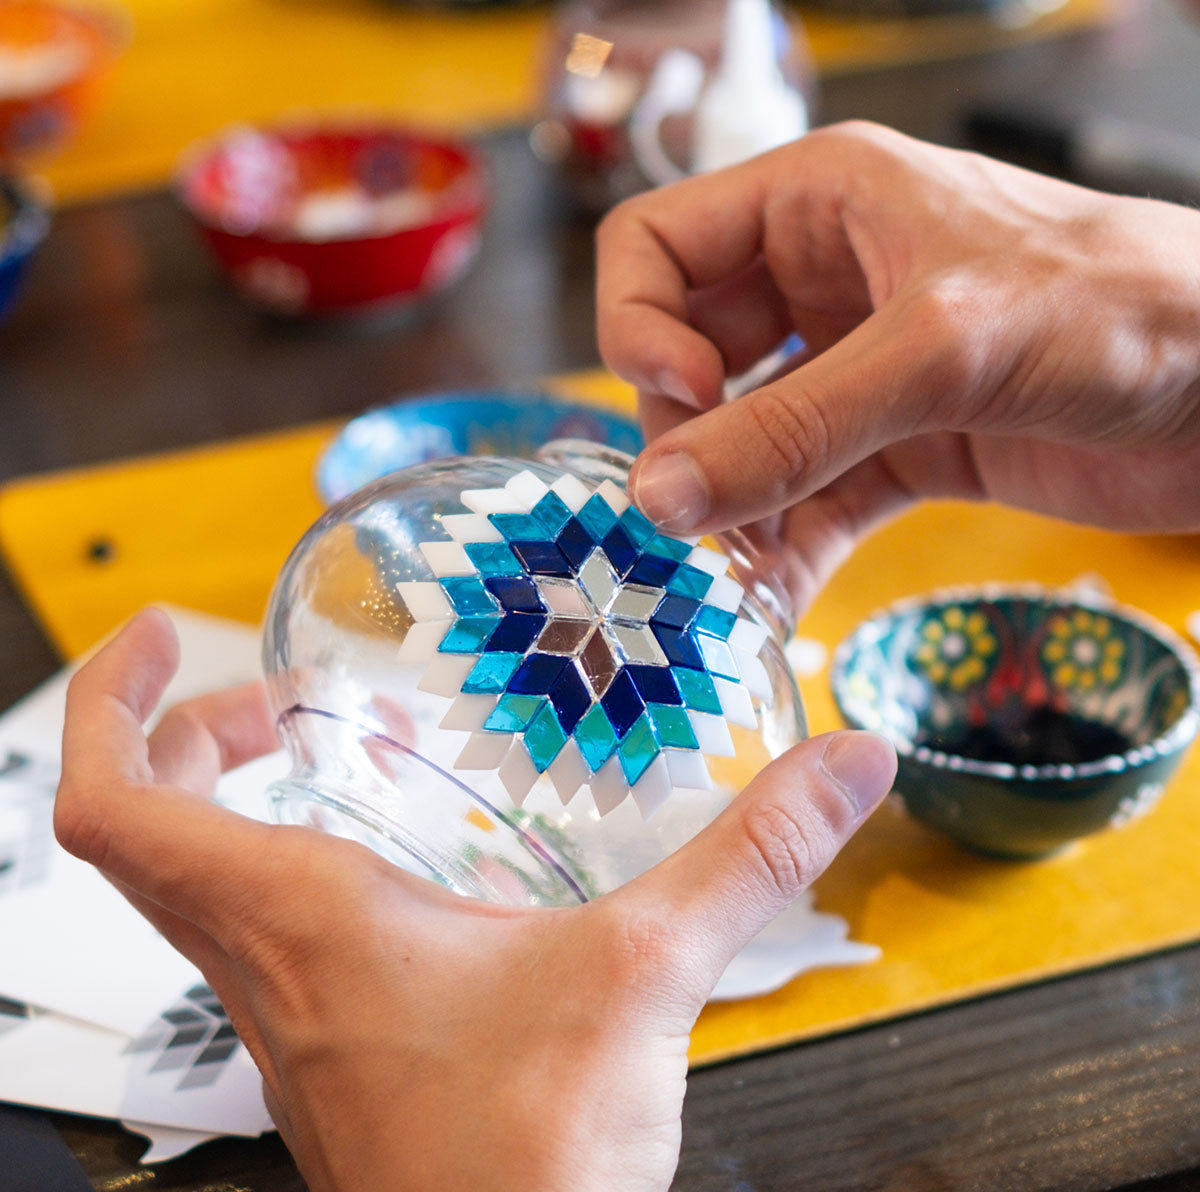
Wipe the glass globe with rubbing alcohol so the adhesive grips, then start with the printed pattern reference in the kit – the Anatolian star or the tulip are the two traditional motifs and both repeat evenly around a globe. Sketch the design on paper or lightly on the globe itself before you touch adhesive, and decide your colour logic: one dominant colour (about 60% of the glass), one accent, and beads for the gaps. The glass comes pre-cut as diamonds, triangles and squares; diamonds make stars, squares make bands, triangles fill the curves near the top. Mark the globe into quarters with a pencil so the motif lands in the same place on every side – a pattern that drifts is the most common beginner mistake and it is easier to fix now than after gluing.
02
Place the Glass (60–90 minutes)
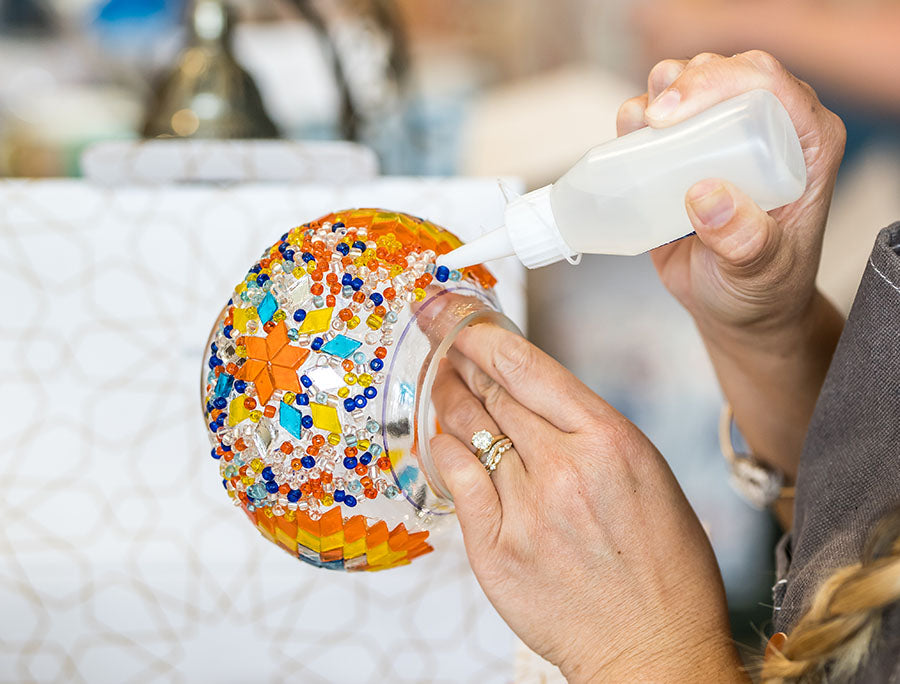
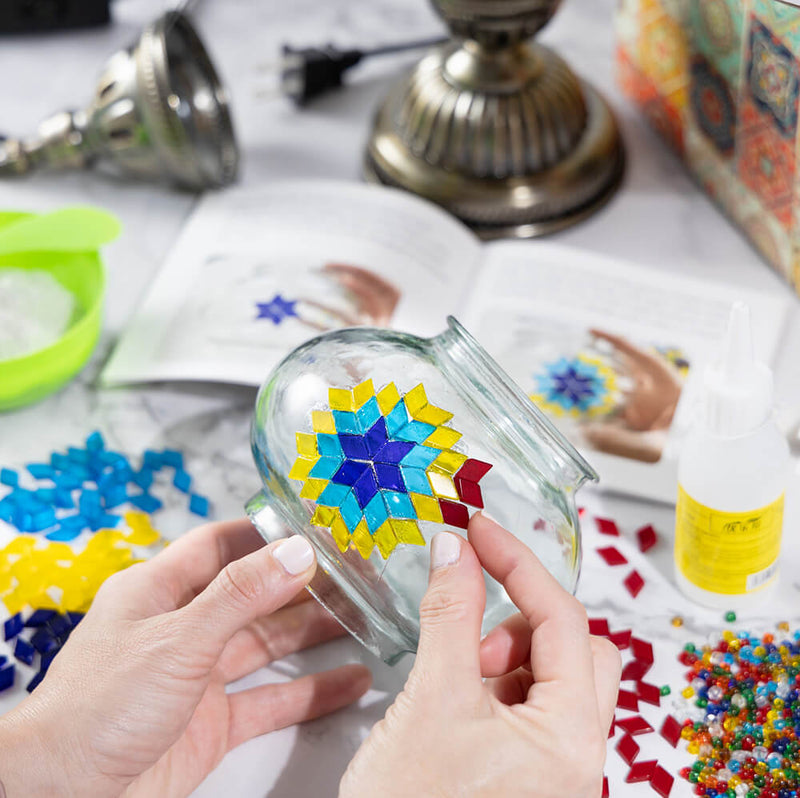
Work from the top of the globe down, one band at a time. Put a pea-sized dab of adhesive on the back of each piece, press it flat against the glass for two seconds, and leave a 2–3 mm gap between neighbours – that gap is where the grout goes and it is what makes the pattern read when the lamp is lit. Keep the globe on a cloth or ring so it cannot roll. Do not overcrowd: a globe that is 70–80% glass and 20–30% grout and beads glows more evenly than one packed edge to edge. This is the slow, meditative part; most people finish the glass in about an hour.
03
Add Beads (20–30 minutes)
Fill the gaps between glass pieces with the Czech glass beads, pressing each into a small dab of adhesive. Mix bead sizes and alternate warm and cool tones so the highlights catch light from every angle. Beads should sit slightly below the surface of the glass, not proud of it, or the grout will not cover their edges. Let the whole globe rest for 20–30 minutes so the adhesive sets before grouting.
04
Grout (30–40 minutes, then cure overnight)
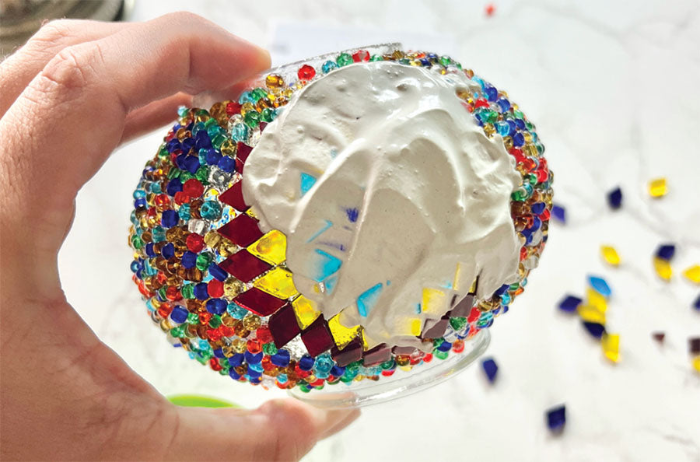
Mix the plaster grout to the consistency of thick peanut butter, then spread it over the globe with your fingers or a small spatula, working it into every gap. Wait 10–15 minutes until the surface turns matte, then wipe the face of each glass piece clean with a barely damp sponge, rinsing often, followed by a dry cloth to lift any haze. White grout makes the colours read softer and brighter; black makes the pattern sharper and more graphic. Leave the globe to cure for 24 hours before handling it. In a studio session we can do the grouting and curing for you.
05
Assemble and Light It (10 minutes)
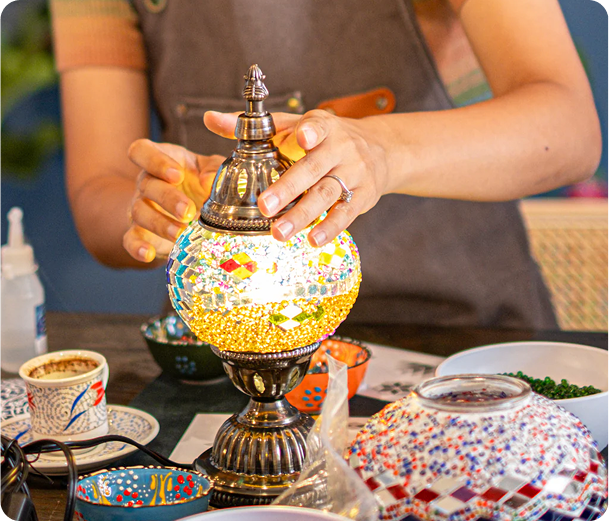
Once the grout is fully cured, give the glass a final polish with a dry cloth, then seat the globe in its base frame, fit the LED bulb, connect the wire and plug in – the kit's fitting is made for a standard US outlet, so there is nothing to rewire. Place the lamp where its light can reach a wall or ceiling; the point of a mosaic lamp is what it throws across the room, not the object itself. To care for it, dust with a soft dry brush and handle it by the base.
Calendar
Pro tips
Common Beginner Mistakesto Avoid
These quick checks improve your final result and save rework.
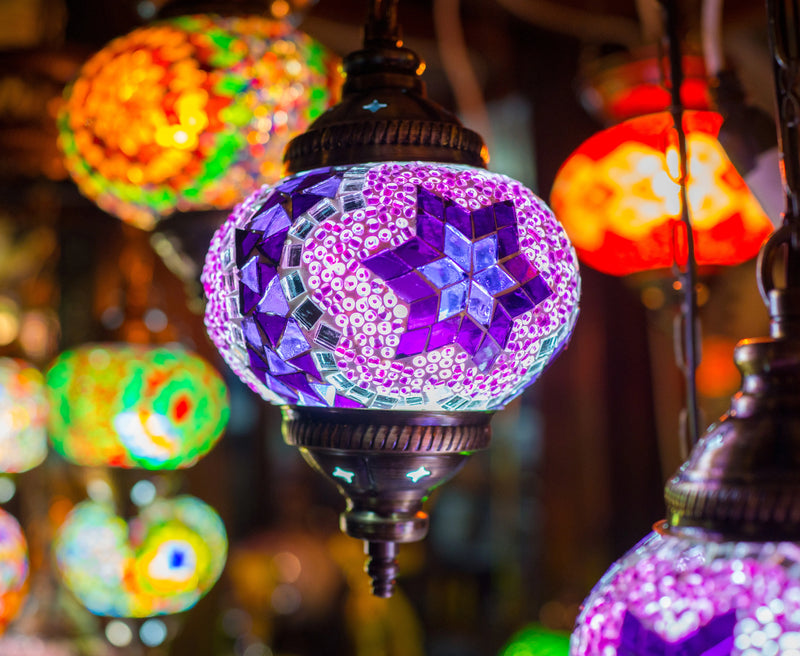
Do not overcrowd the glass
Leave slight breathing room between pieces so grout can settle evenly and the pattern stays readable when lit.
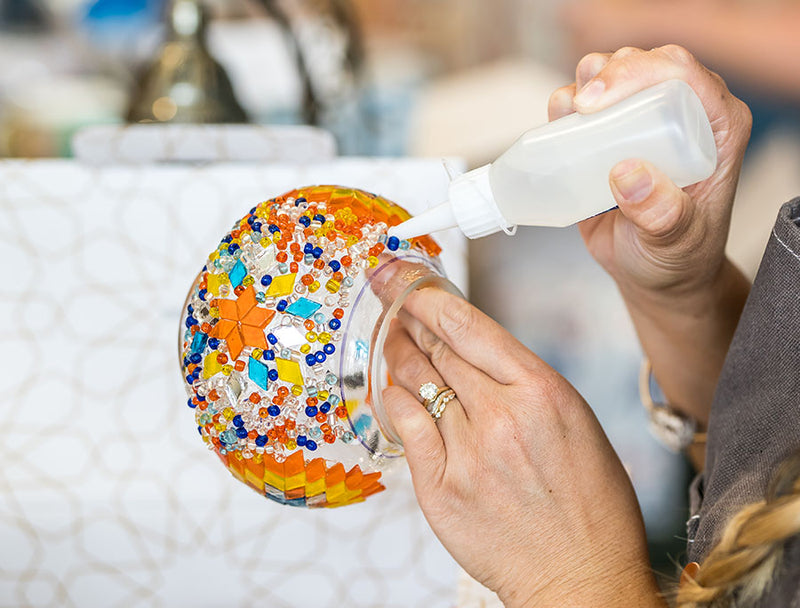
Mix bead sizes and color tones
Alternating bead scale and contrast creates depth and makes the lamp feel more intentional from every angle.
Let grout cure fully
Do not rush final polishing. Proper curing improves durability and keeps the color boundaries crisp over time.
Choose your path
Two Ways to Make One
Build at home with a kit or make it with an instructor in a guided session. Here's how the two compare.
| DIY Kit | Guided Workshop | |
|---|---|---|
| What you get | Everything in one box — the core materials and guidance for a full build at home. | Live instruction — an instructor guides your pattern, pacing and finishing. |
| Schedule | Build in one sitting or across multiple sessions, with no class time pressure. | In-studio or virtual formats — pick what fits your schedule, including private and team options. |
| Best for | Gifting — it's both an experience and a finished decor piece people actually use. | First-timers — guided support removes guesswork and improves the final quality. |
| Starting at | $49 per kit | From $89 per session |
| Get started | Shop Turkish Mosaic Lamp Kits → | Book a Workshop → |
Heritage
Where the CraftComes From
Turkish mosaic lamps are not a decorative style someone invented recently. The technique is roughly five hundred years old, the patterns carry cultural significance, and the intricate designs have been passed down by master artisans across centuries.
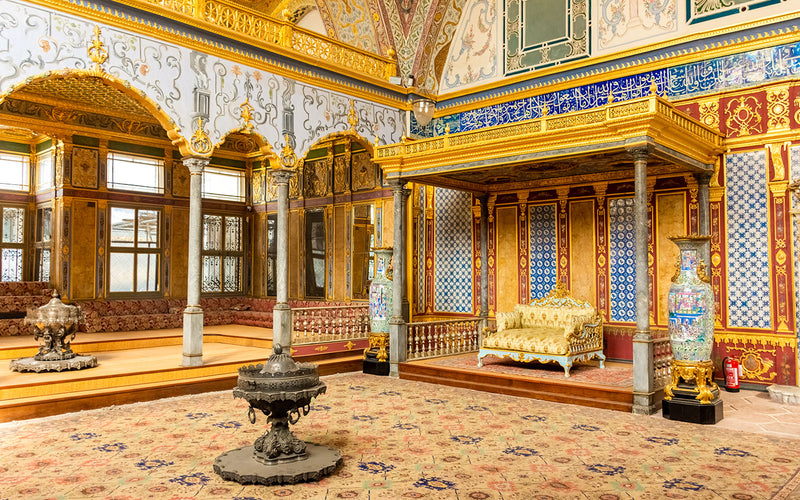
Ottoman origins, 16th century
Artisans in Istanbul perfected the combination of coloured glass and geometric pattern during the Ottoman Empire, drawing inspiration from the Byzantine, Persian, Arabic and Central Asian traditions that made up its diverse cultures. The way glass is cut, placed and grouted has barely changed since.
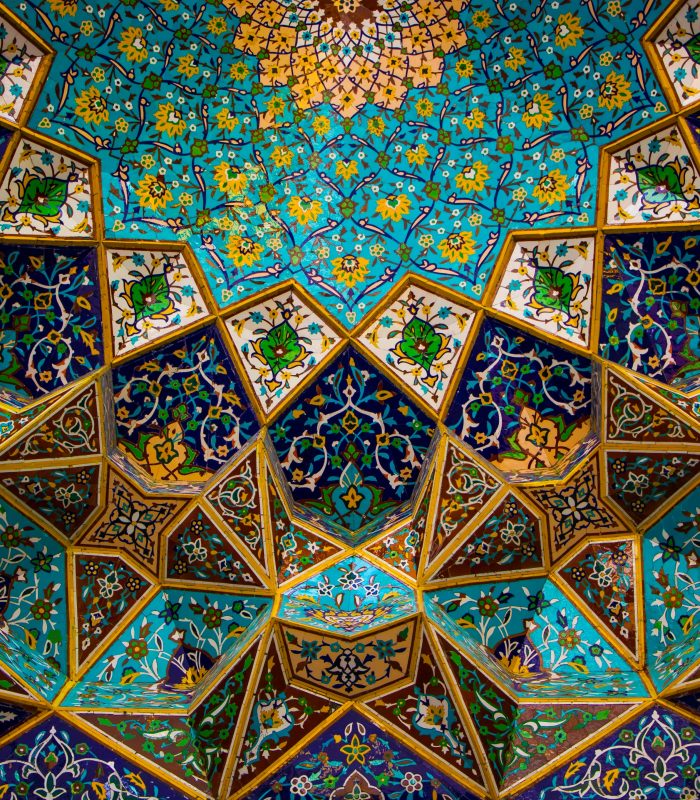
The patterns mean something
Stars stand for guidance and protection. Florals celebrate the natural world. The mosaic patterns are inherited rather than invented, and the intricate designs Ottoman artisans used in palaces and mosques are still the ones we work from today.
Why it has lasted
The light is the reason. Colour passes through hand-cut glass rather than bouncing off a printed surface, so a lit lamp throws a warm glow and vibrant pattern across the room. That warmth is what changes a space — the lamp is a statement piece even when it is switched off.
Occasions
When PeopleMake These
The kits and the workshops get used for the same handful of reasons, and it is worth knowing which one you are buying for.
As a gift
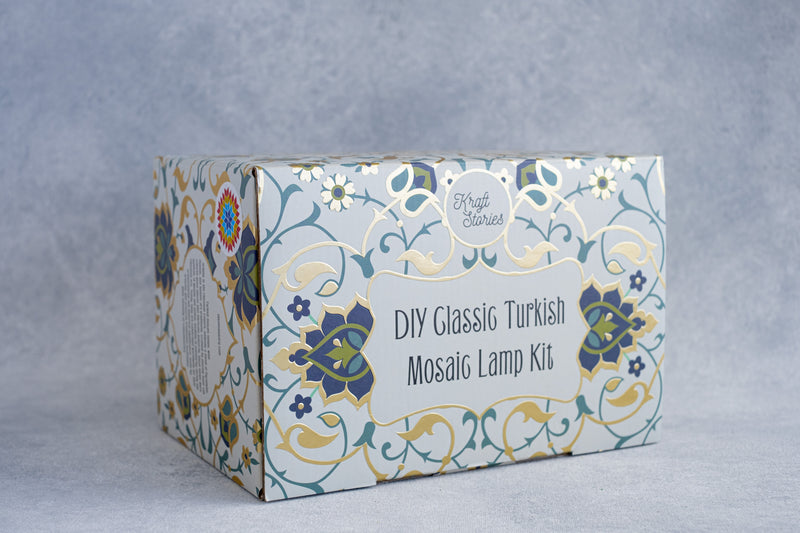
A kit gives someone an evening as well as an object, which is why it beats a finished lamp as a gift. Kits start at $44.10, arrive boxed, and end up as a statement piece in most living rooms.
Date night at home
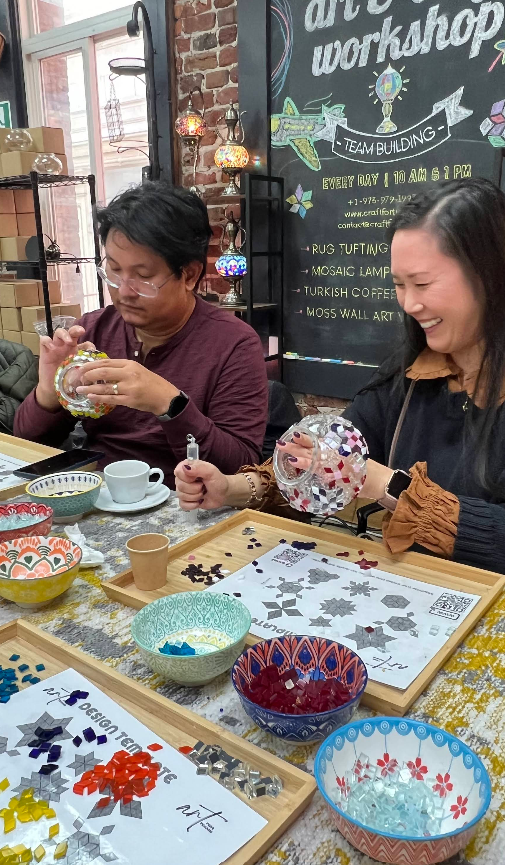
Two people, one table, two or three hours. Date nights work well here because your hands are busy — conversation happens on its own, and you and your loved ones each leave with something you made.

With friends or a team
Build several at once. Our mosaic lamp workshops run as in person events in the studio or at your office, and they work as team building events for groups — we can quote for quantity either way.
On your own
The most common reason people give afterwards. Placing glass is repetitive in the way that quiets a busy head, and the creative journey from loose pieces to lit lamp is most of the appeal.
History and meaning
A Craft Rooted in Pattern and Light
Turkish mosaic lamps are known for geometric composition, color layering, and warm illumination. The process blends patience with repetition: small glass pieces and beads become a coherent visual rhythm. Making one by hand gives you a deeper connection to a long-standing decorative tradition while still producing something practical for modern homes.

FAQs
How to Make a Turkish Mosaic Lamp: Common Questions
Need help choosing between DIY and guided formats? Contact us and we will help you pick the best option.
Yes. The process is beginner-friendly and can be completed with clear step-by-step guidance.
Most people finish the core process in about 2.5 to 3 hours, depending on pattern detail and grout timing.
Yes, with normal craft care. Work on a stable surface, keep small pieces organized, and follow the handling instructions included with your kit or class.
Older kids can participate with supervision. For younger children, guided family formats are recommended.
A kit is self-paced at home, while workshops include live instructor support in-studio or virtually.
If you are using a DIY kit, yes. In guided formats, the grouting step is explained in detail and support is available.
Once the mosaic and grout are fully set, assemble the lamp hardware and use the recommended bulb type from your kit or workshop instructions.
Yes. Turkish mosaic lamp kits and guided sessions are both popular gift options because they combine making with a lasting decor outcome.
Our kits run from $44.10 for a candle holder to $80.10 for an Aladdin lamp. The Turkish table lamp kit at $49 is the usual starting point. Every kit includes the hand-cut glass, Czech beads, plaster grout and brass base, and lamp kits include the LED fitting.
Most beginners finish the glass and bead work in about 2.5 to 3 hours, depending on how complex the pattern is. The grout then needs to cure before the lamp is handled, so if you are working from a kit at home, plan to finish it the following day. In a studio session we can grout it for you.
No. The glass arrives already hand-cut in Istanbul and sorted by colour. You are placing and composing the pattern, not cutting it, and no sharp tools are involved.
The Turkish table lamp kit at $49. The globe shape is the most forgiving, the pattern wraps evenly around it, and our written instructions and video guides are built around that shape.
Yes, from around age eight with an adult nearby. For younger makers the candle holder kit is the better choice — it is shorter, there is no wiring, and the grouting step is simpler.
Yes. Every lamp kit ships with an LED light fitting compatible with standard US electrical outlets, so there is nothing to source or rewire.
They are often sold interchangeably, but the traditions differ. A Turkish mosaic lamp is built from hand-cut stained glass and beads set in plaster over a glass globe, so the colour comes through the pattern itself. A Moroccan lantern is usually pierced or etched metal around plain glass, so the pattern reads as shadow. Everything on this page is the Turkish method.
Kits ship from within the US. The glass is packed in sorted compartments and the globe is boxed separately with padding, so nothing arrives loose. Standard delivery is the default at checkout with faster options available.
Yes, and it is one of the most common reasons people buy one. The kit arrives boxed and ready to give. If you would rather give the experience than the object, a workshop gift card is delivered instantly by email.
We do. Groups can either build together in one of our studios, have us bring the workshop to an office, or receive kits individually — which works for remote teams. Get in touch with a headcount and we will quote it.
Dust it with a dry, soft brush or cloth. Avoid spraying cleaners directly onto the glass, since liquid can work into the grout lines over time. Handle it by the brass base rather than the globe. Kept out of direct sun, the colour does not fade.
Yes. We sell empty globes in 11cm and 13cm, either plain or already filled with mixed tiles and beads, plus adhesive on its own. Useful if you are replacing a broken globe or working from your own materials.
Yes, with ordinary craft care. The pieces arrive already cut and tumbled, so there are no raw edges to work around. Work on a stable surface, keep the pieces in their compartments until you place them, and keep the tray away from the edge of the table if children are helping.
Living rooms and bedrooms, on a side table or shelf where the light can reach a nearby wall. The point of the lamp is not the object but what it throws — once lit, the pattern projects colour onto whatever is around it, so give it a surface to cast against rather than tucking it into a corner.
Most kits start from a repeating geometric motif. The Anatolian star and the tulip are the two most traditional, both drawn from Ottoman palace and mosque work, and both are included as printed references. Once you understand how a motif repeats around a globe you can design your own — the geometry does most of the work.
Once the mosaic and grout are fully set, assemble the base, attach the LED fitting and switch it on. This is the moment the work makes sense — the beauty of the piece is in what it throws, not in what it looks like unlit.
No. The geometry does the work. You are following an inherited pattern rather than inventing one, so imagination is welcome but not required. Most people arrive saying they are not creative and leave exploring which lamp to make next, discovering the craft is far more about patience than talent.
Yes, and it is one of the most-booked date-night formats in our studios. Two people sit side by side with their hands busy for two hours, which makes conversation easy, and the build quietly shows how you solve small problems together – who plans the pattern, who fixes the drifting row. You each take home a working lamp, so the evening leaves something behind. Many couples make it a recurring ritual: a table lamp on the first visit, a moon or swan lamp the next.
Ready to start?
Build Your Turkish Mosaic Lamp Your Way
Choose the format that fits you best: a self-paced DIY kit or a guided workshop with an instructor.